Starting Seeds Indoors for Beginners
Starting plants from seeds is one of the most rewarding parts of gardening. But it can seem daunting if you’ve never done it before. This guide will walk you through the entire process from soil to transplanting. Let’s get growing!
Why Start Seeds Indoors?
By starting plants from seed indoors, you can get a jump start on the growing season, grow varieties that require a long growing season, and grow unusual plants, without being restricted to the limited selection available at local garden centers.
What You’ll Need
Starting seeds indoors doesn’t require much investment. Here’s what you’ll need to get started:
Containers - Seed trays, pots, or whatever you have on hand. Meat containers work great.
Seed starting mix
Watering can
A sunny window or grow lights - Shop lights work great.
Seed heating mat (optional)
Labels - Help keep track of what you planted.
Choosing Seeds
When selecting seeds, focus on varieties that benefit from an early start:
Tomatoes, peppers, and eggplants - Need a long warm season, so they must be started early.
Leafy greens like lettuce, spinach, kale - Can be grown in cool conditions, so these are worth giving a head start in order to have home grown salad sooner rather than later.
Herbs like parsley, basil, oregano - Will produce a lot sooner with a head start.
When to Sow
Getting the timing right is important when it comes to seed starting.
If you start too early, you will have seedlings that have outgrown their containers before the weather is warm enough for them to be transplanted into the garden. This results in weaker seedlings due to the stress of confinement, lack of nutrition, and a need for actual sunlight.
Starting your seeds too late means a later harvest period, or worse. Crops that need a long growing season like peppers, may not have time to produce for you before your first frost in the fall.
Check seed packets for the recommended time to start indoors based on your region’s last spring frost date. You can also use Johnny’s seed starting calculator.
Here in our zone 7 I like to start tomatoes and peppers in early to mid March. Any earlier than that winds up in stressed out seedlings.
Peppers need an early start.
Seed Starting Mix
Regular potting mix can work fine for seedlings, as long as there are not big chunks of wood chips in it. If so, sift them out.
Alternatively you can buy a seed starting mix that is light and fluffy. Experiment with different brands to find one you like. It’s best to buy whatever you can locally.
Sowing Seeds
To plant seeds:
Fill containers with moistened seed starting mix, gently firming it down.
Evenly space seeds to avoid overcrowding.
Refer to the seed packet for planting depth. Very small seeds are simply pressed into the surface. Larger seeds may be buried 1/4 inch deep.
Cover seeds with a thin layer of mix if burying them.
Gently water the seeds in using a watering can with a fine rose nozzle, or a hose on the shower setting.
Cover trays with plastic domes or plastic wrap to retain moisture.
Caring for Seedlings
Seeds prefer warm soil for germinating, around 70°F. Consider placing them on a seed heating mat for best results.
Some seeds need light to germinate, some need darkness, others don’t really care either way. While most fall into the third category, it is always wise to check. If it does not say what the seeds prefer on the packet, do a quick google search and make a note.
Some seeds need light to germinate, some need darkness, others don’t really care either way.
For most seedlings, as soon as sprouts emerge, move to a sunny windowsill or place under grow lights. LED shop lights work well and don’t generate much heat. Keep lights about 6 inches above the seedlings.
Watering and Aerating Seedlings to Keep Them Happy
Water the seedlings carefully by misting or bottom-watering to avoid fungus issues. Let the soil dry out slightly between watering and maintain good air circulation.
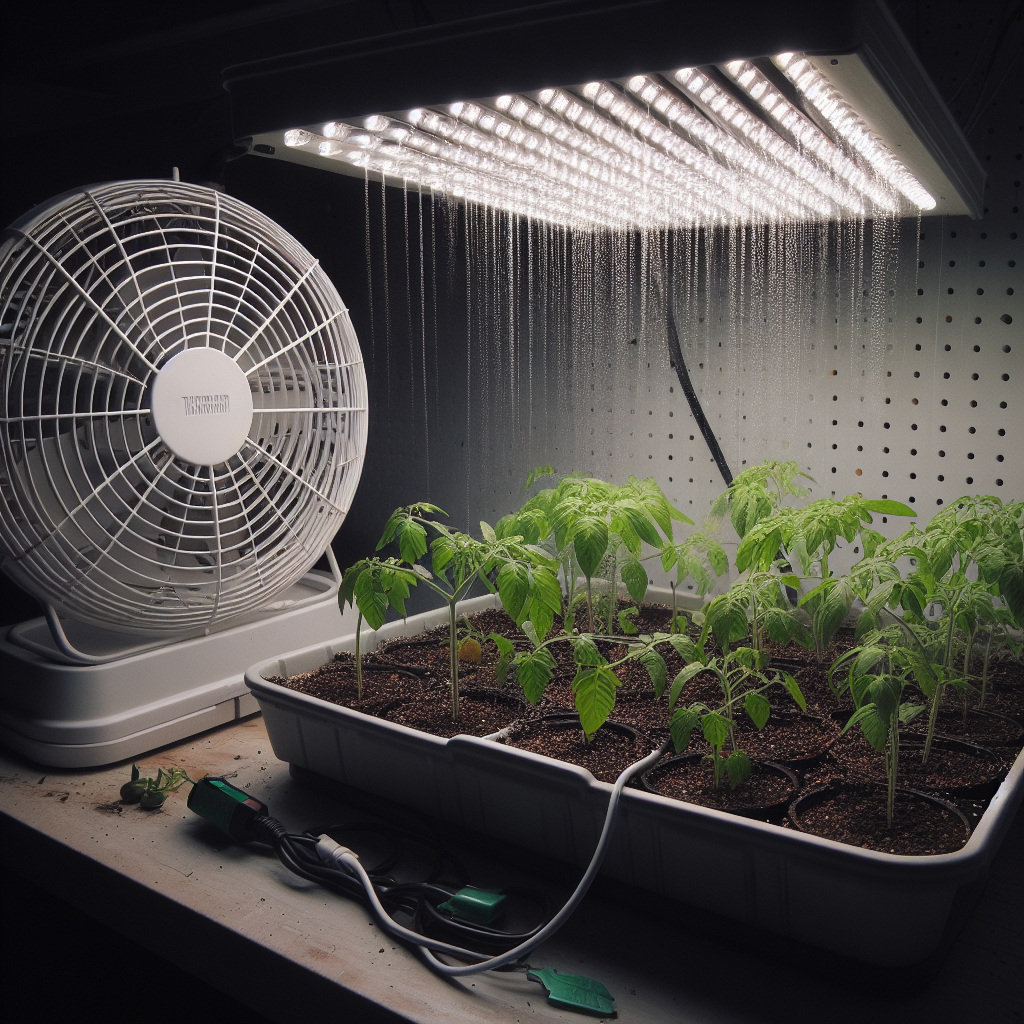
Using a fan on seedlings is not required, but it can help to strengthen stems and preventing damping off, a fungal disease that causes the sudden collapse and death of young seedlings, often at the soil line, due to various soil borne pathogens.
Turning a fan on your seedlings for 30 minutes to an hour a day is sufficient.
Using a fan on seedlings strengthens them and prevents damping off.
Hardening Off & Transplanting
Before transplanting outdoors, seedlings need a week to gradually acclimate to the harsher outdoor conditions, a process called hardening off.
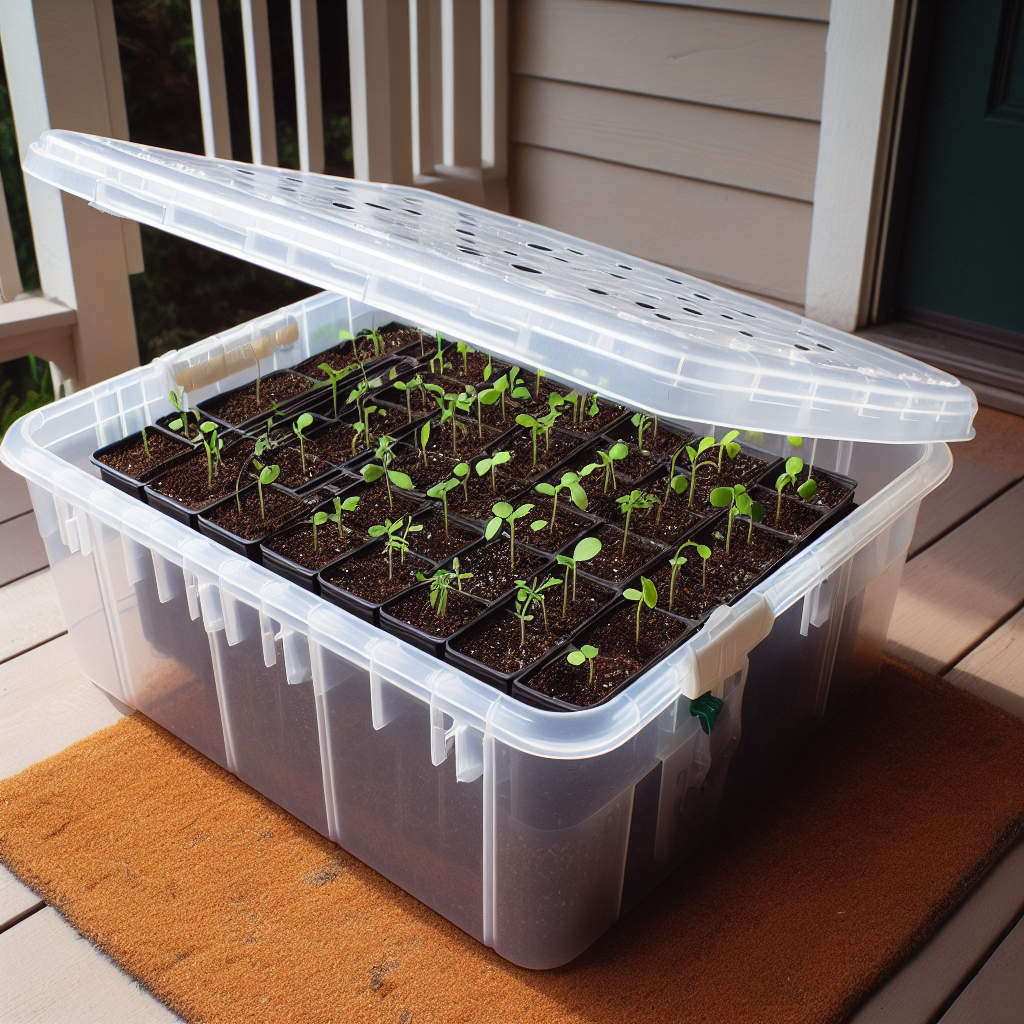
The easiest way to do this is to use a cold frame. You don't need to have a walk in hoop house, although I highly recommend building one if you get the chance!
A simple clear plastic tote will do the trick.
A simple plastic tote can act as a cold frame to harden seedlings off.
Place your seedlings inside and drill holes in the lid for air flow.
Set the container outside somewhere sheltered it will not blow away.
During the day remove the lid, weather permitting.
This will help your seedlings get accustomed to the outdoor temperatures without exposing them to wind right away. It also provides them with a greenhouse environment that takes the edge off the cold.
After a week of the tote, you can plant them out in your garden weather depending.
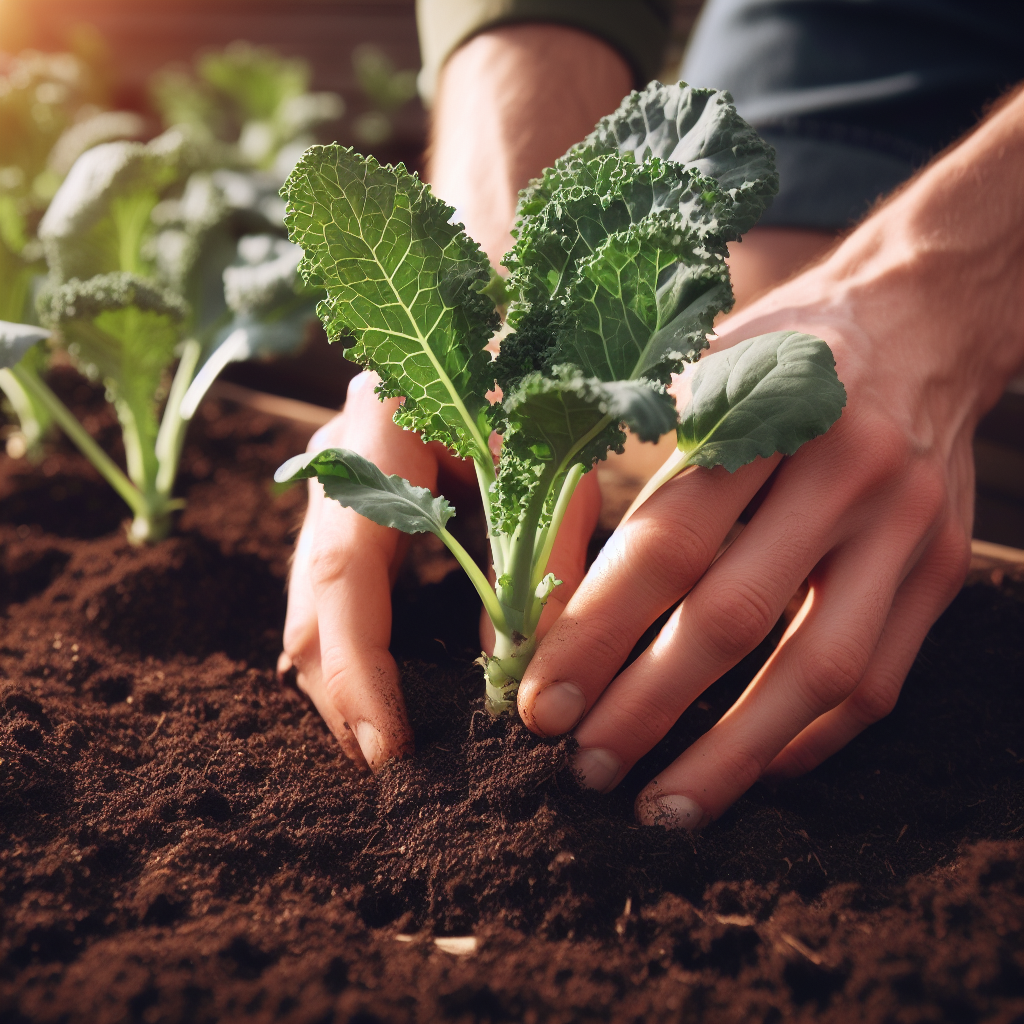
When transplanting, disturb roots as little as possible. For most seedlings, you should dig holes the same depth as the seedling’s root ball. Some things like to be planted deeper, like tomatoes.
After one or two weeks of hardening off you can plant your seedlings in the garden.
Water thoroughly after transplanting.
Troubleshooting Seed Starting Issues
Even experienced seed starters run into problems occasionally. Here are some common issues and how to prevent them:
Leggy or Spindly Seedlings
If seedlings are stretching and weak, it means they aren't getting enough light.
Move seedlings right under grow lights, making sure plants are no more than 6 inches away.
Reduce room temperature.
Add a fan for airflow.
Mold or Fungus
Damping off fungus can wipe out seedlings.
Allow the soil surface to dry out between watering.
Improve air circulation with fans.
Sprinkling cinnamon on soil can help suppress fungus.
Seeds Not Germinating
Make sure seeds are planted at the right depth for their size.
Keep soil evenly moist but not soggy.
Consider using a seedling heat mat to warm soil to the proper temperature.
Old seeds can have lower germination rates.
Expose some seeds to light if they require it to trigger sprouting.
Catching problems early is key. Observe seedlings closely and make any needed adjustments to get sprouts off to a healthy start. With careful preparation and conditions, you can avoid many common seed starting pitfalls.
With the right care and conditions, you’ll have thriving vegetable and flower seedlings ready to beautify your garden. Happy seed starting!
Related Articles:


